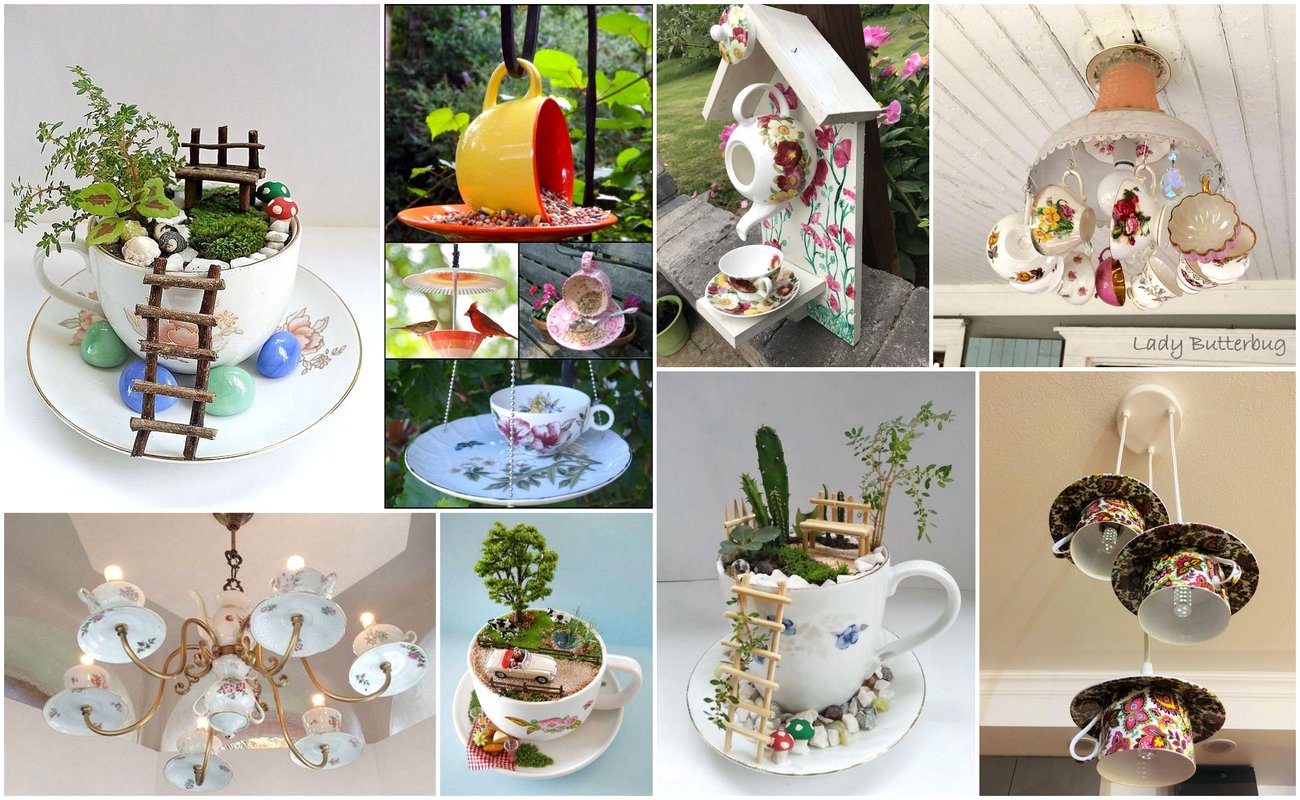
Here are some DIY crafting ideas for a teapot and teacups:
Decorative Teapot – Paint the teapot and teacups with bright colors, or decoupage them with decorative paper or fabric.
Garden Decor – Drill holes into the teapot and fill with soil to create a unique planter.
Jewelry Holder – Glue small felt pads to the bottom of the teacups to create jewelry dishes.
Bird Feeder – Drill holes into the teapot, add a hook, and fill with birdseed to create a bird feeder.
Candles – Fill the teacups with wax, add wicks, and create decorative candles.
Miniature Fairy Garden – Use the teapot and teacups as a base for a miniature fairy garden.
Utensil Holder – Use the teapot as a utensil holder on the kitchen counter.
Teacup Planters – Fill the teacups with soil and add small succulents or flowers for a unique planter.
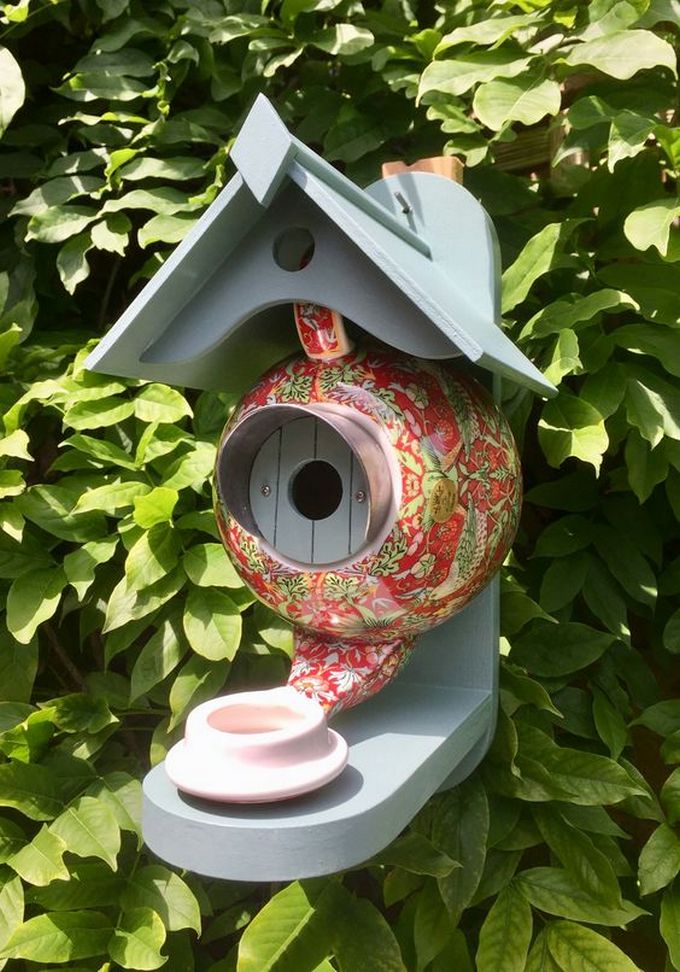
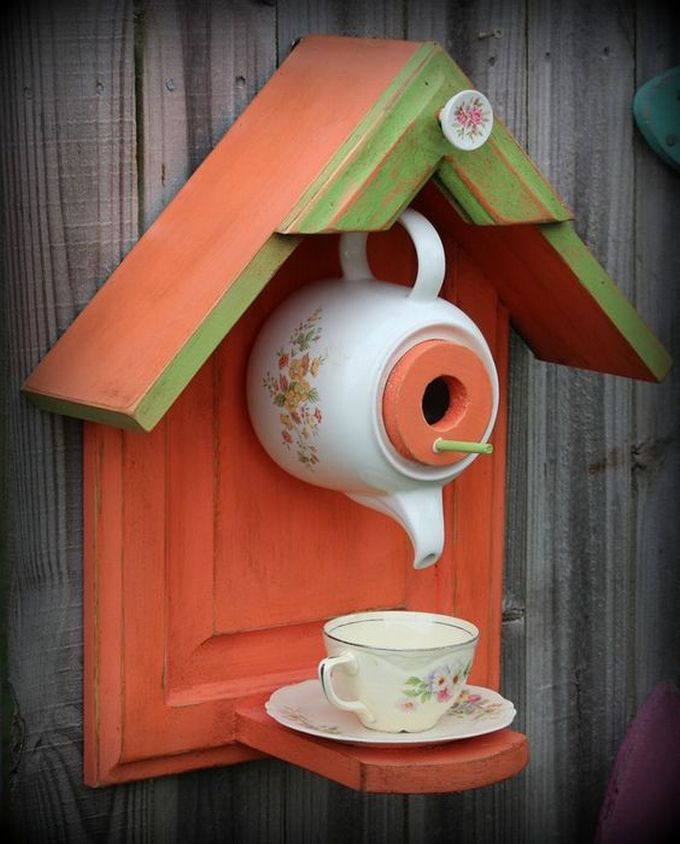
Birds House and Feeder:
Here’s how you can make a bird house and feeder out of a teapot and teacups:
Birdhouse:
Clean the teapot and make sure it is dry.
Drill or punch a hole in the bottom of the teapot for the birds to enter and exit.
Fill the bottom of the teapot with some small sticks or twigs for the birds to build their nest.
Find a place to hang the birdhouse where it will be protected from the elements and predators.
Bird Feeder:
Clean the teacups and make sure they are dry.
Drill or punch a hole in the bottom of each teacup and add a hook to each.
Fill each teacup with birdseed.
Hang the teacups from a tree branch or a bird feeder stand.
These bird houses and feeders will be a great addition to any backyard and will provide a comfortable home and food source for birds.


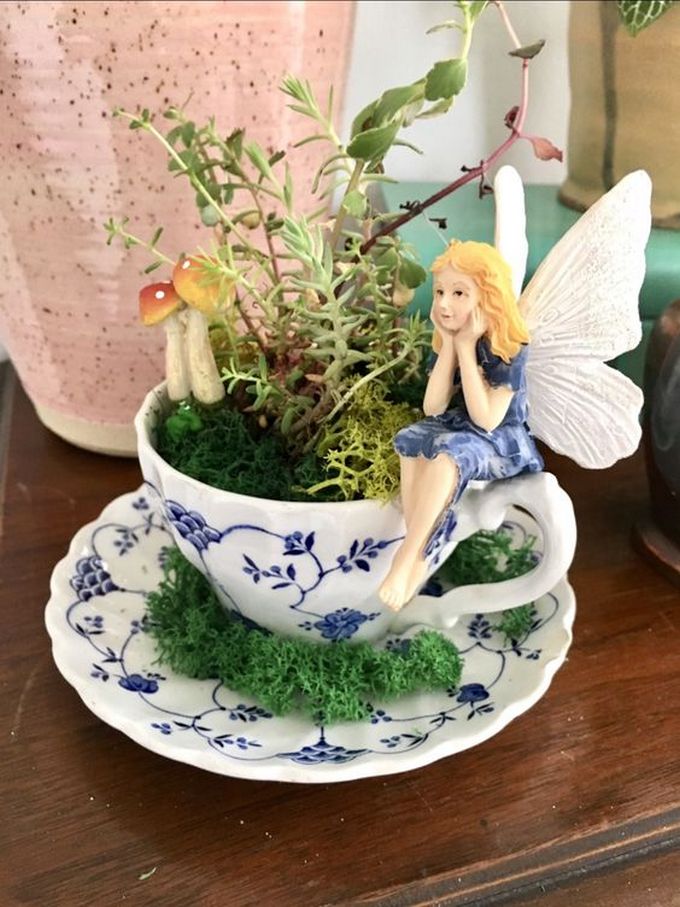
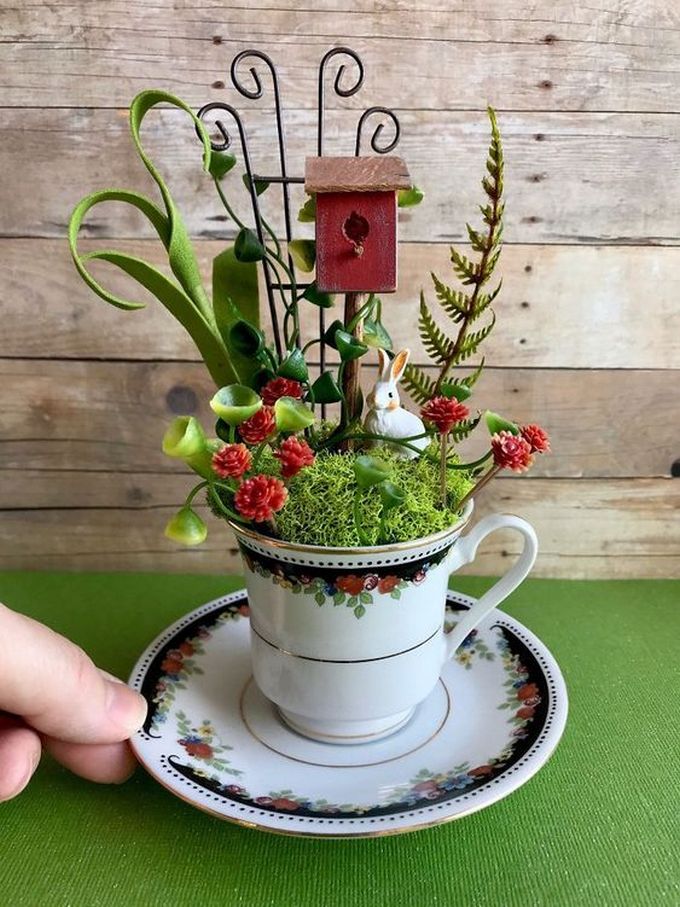
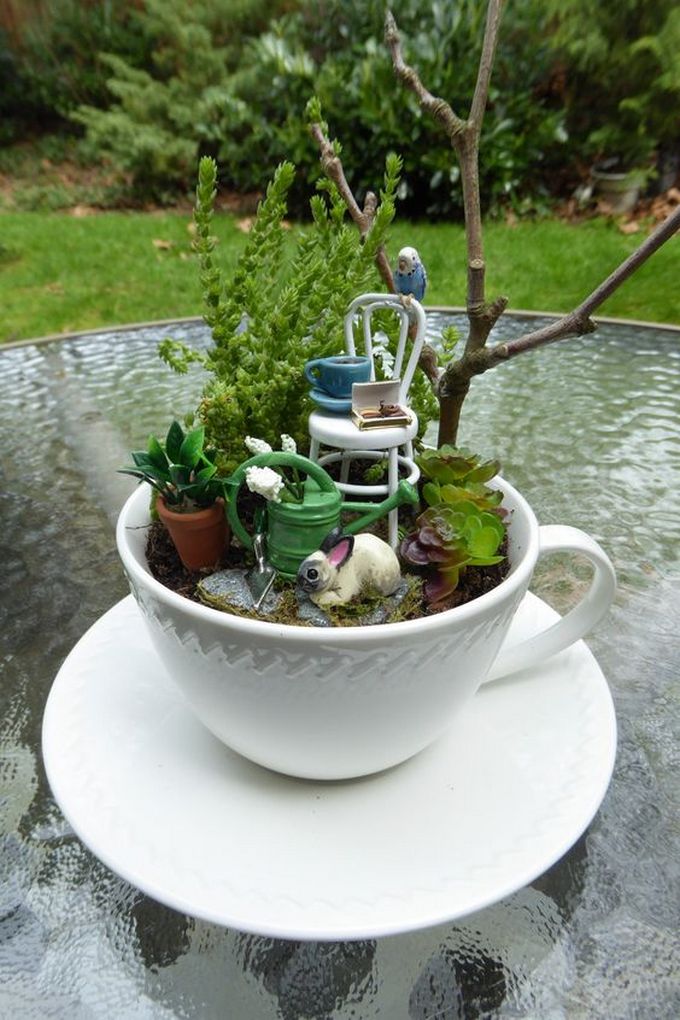
Miniature Fairy Garden:
Here’s how to create a miniature fairy garden using teacups:
Choose your teacups – Select teacups of different sizes and colors to add variety to your fairy garden.
Fill the teacups with soil – Add potting soil or compost to the teacups, filling them about 2/3 of the way.
Add plants – Choose small plants or succulents that will fit inside the teacups and place them in the soil.
Add decorations – To give your fairy garden a magical touch, add small figurines, stones, shells, or other miniature decorations.
Accessorize – To give your fairy garden a finishing touch, consider adding a small bridge, path, or fountain.
Place your fairy garden – Place your fairy garden in a bright, well-lit area, such as a windowsill or tabletop.
By using teacups as the base for your fairy garden, you’ll create a unique and enchanting display that will bring a touch of magic to any room.


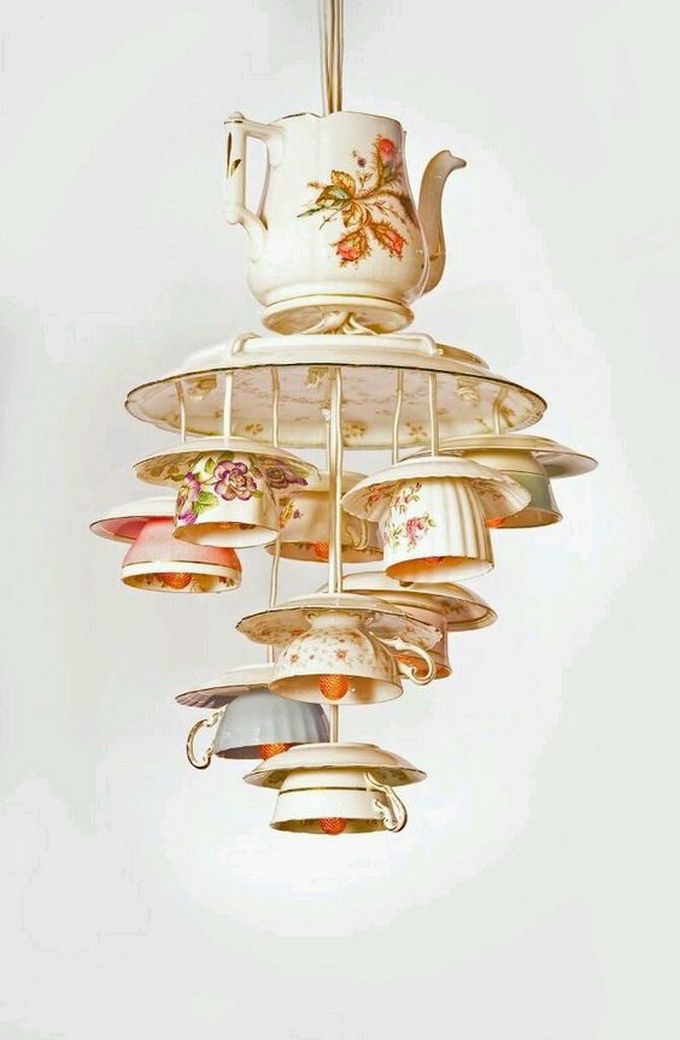
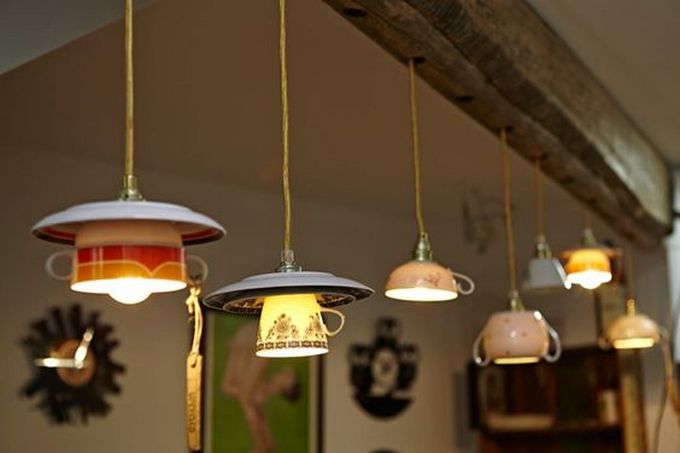
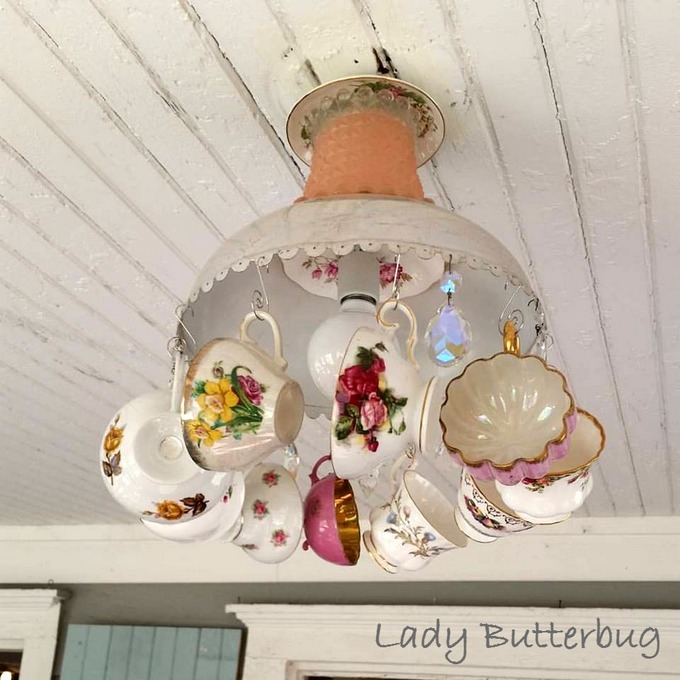
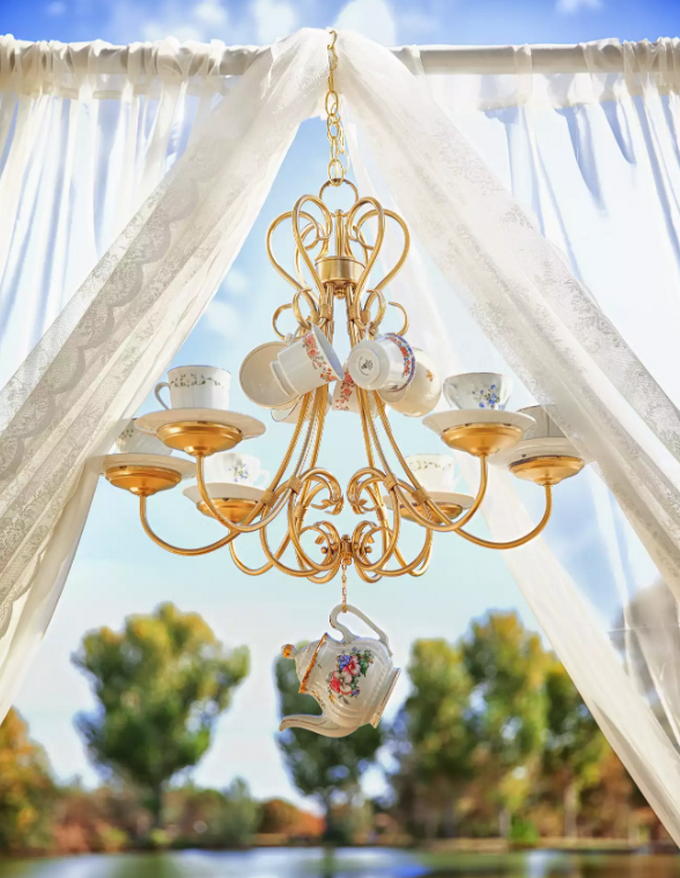
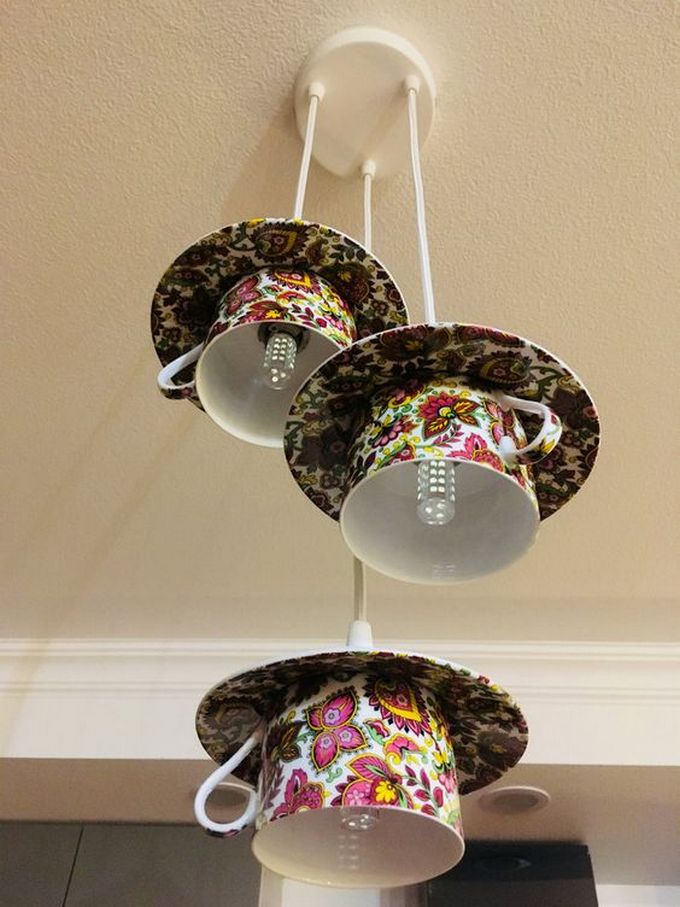
Teacup Chandelier:
Here’s how to make a teacup chandelier:
Gather materials – You will need teacups, saucers, a chandelier frame, a lighting kit, pliers, wire cutters, drill and drill bits, hot glue gun, and glue sticks.
Prepare the teacups and saucers – Clean and dry the teacups and saucers, then arrange them in the desired pattern.
Attach the teacups to the saucers – Use hot glue to attach the bottom of each teacup to the center of a saucer.
Attach the saucers to the chandelier frame – Using pliers, bend a length of wire into a hook and attach it to the top of each saucer. Then use hot glue to secure the saucers to the chandelier frame.
Install the lighting kit – Install the lighting kit according to the manufacturer’s instructions.
Drill holes in the teacups – Using a drill and a small drill bit, drill holes in the teacups to allow light to shine through.
Hang the chandelier – Once the lighting kit is installed, hang the chandelier in the desired location and turn it on to admire your creation.
By repurposing teacups and saucers, you can create a unique and beautiful chandelier that will add a touch of elegance to any room.